Block sanding is a great method for achieving a flawless finish on your car. Whether you are restoring an old car, or you just want to give the exterior of your current vehicle a new look, block sanding can be a great way to get that perfect finish. Block sanding involves applying primer, the base coat, and clear topcoat layers and then using progressively higher grits of sandpaper to smooth out the surface to create the desired shine. As you move through each step, it’s important to ensure that all surfaces are properly prepped and clean before proceeding. This guide will explain each step-in detail so that you can achieve results like professional body shops do.
What Is Block Sanding a Car?

Gathering the Right Materials
Before you start block sanding, it’s important to gather all the necessary materials. You will need a block sanding tool, a selection of grades of sandpaper (grits ranging from 80 to 2000 grit are usually sufficient), rubbing alcohol, primer, base coat and clear top coat paint, masking tape and paper, painter’s plastic or paper masks to protect any areas not being worked on, an air compressor with airbrush attachment for applying paint layers. Additionally, if you have access to an orbital sander, it can make the process easier and faster.
Identify High and Low Spots
Once all your materials are gathered it’s time to identify which areas of the car need work. Block sanding is best used on areas that have visible high spots (uneven surfaces) or low spots (dinged or scratched surfaces). If there are no high spots present, then block sanding is not necessary as all you will be doing is creating level surfaces without any additional design elements.
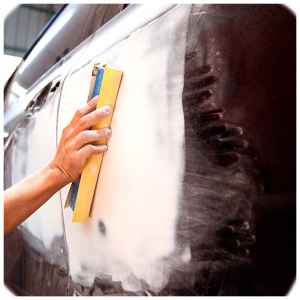
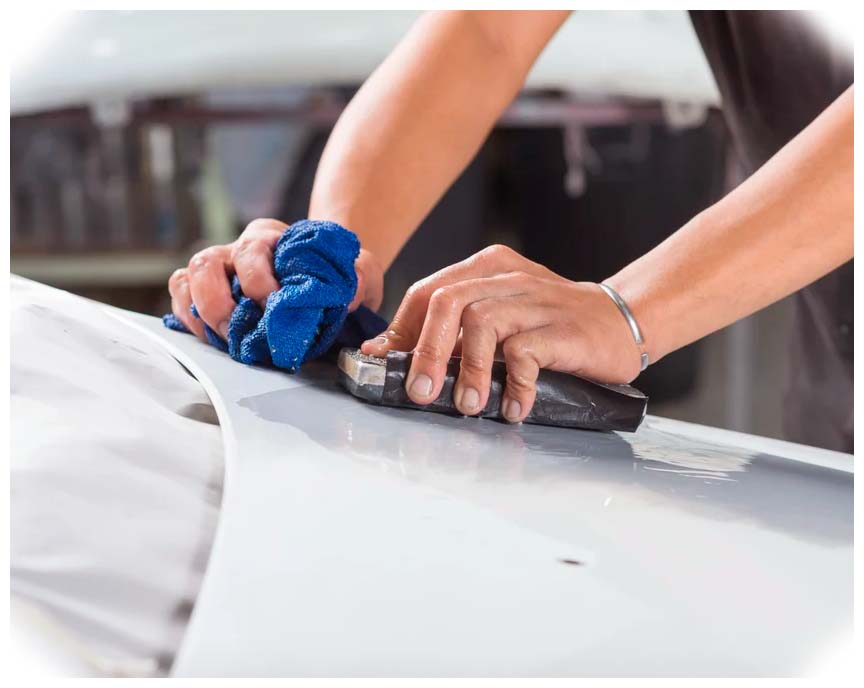
Once the areas with high spots have been identified they should be block sanded using the lowest grit sandpaper available. This will help to level out the area and provide a good foundation for the primer and base coat layers. When sanding, move in one direction (long strokes are best) and be sure to check your work frequently as you don’t want to over-sand or sand too deeply into the substrate.
Prepping the Area with Primer and Basecoat
Once all high spots have been leveled out, it’s time to prep the area with a primer and base coat. For optimal results use a two-part epoxy primer followed by a two-part catalyzed urethane topcoat. Applying these layers is best done with an airbrush using thin coats until coverage has been achieved. Allow each layer to dry completely before proceeding to the next step.
Once all primer and base coats have been applied it’s time to spray on a clear top coat for protection against rust, chips, scratches and UV damage. Again, thin coats should be applied until coverage is achieved but remember not to apply too thick of a coat as this can cause runs in the finish or orange peel effect which will require additional block sanding. Allow the clear top coat to dry completely before proceeding to the next step.
Wet Sanding with Higher Grits to Create Shine

Final Polishing and Buffing to Create Showroom Finish
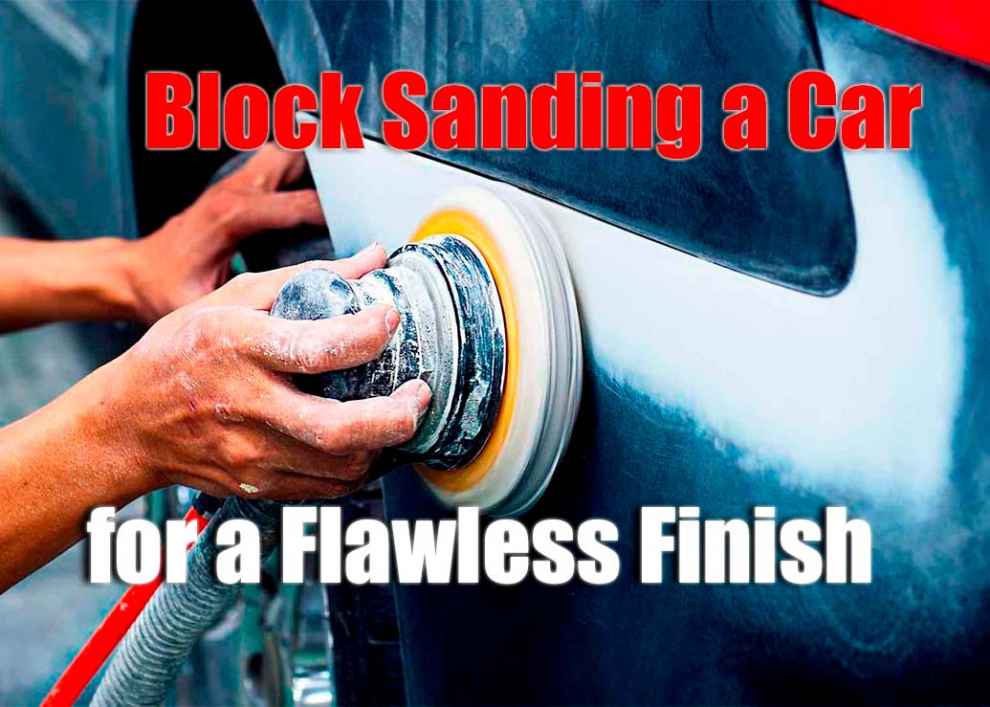
The final step in achieving a professional finish is polishing and buffing the surface using an orbital buffer or dual action sander starting with a medium polish compound followed by a fine polish compound until desired shine is achieved. Once this is done, you can apply wax for an added layer of protection against rust, chips, scratches, and UV damage if desired. Also read about How to Debadge a Truck for tips on cleanly removing manufacturer badges and stickers for a sleeker appearance.
Conclusion
Block sanding is a great way to get a professional finish on your car. With the right materials and techniques, you can achieve results like professional body shops do. Just remember to take your time with each step and make sure all surfaces are properly prepped and clean before proceeding. With these tips in mind, you’ll be able to create a perfect finish on your car that will last for years to come!

Add Comment