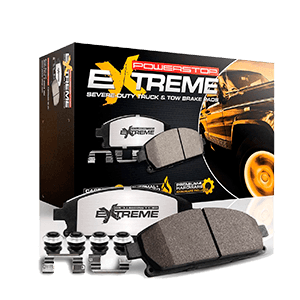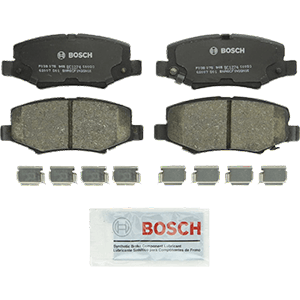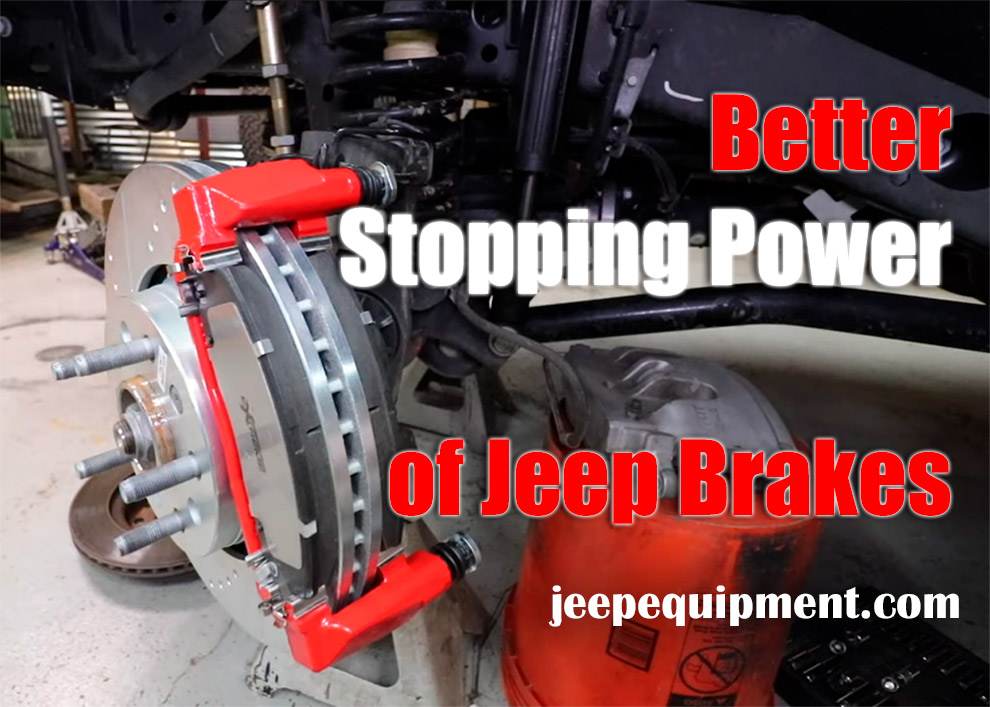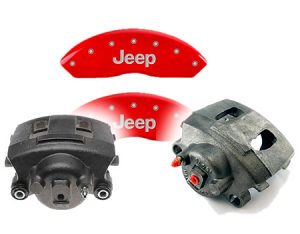
The factory Jeep gear is pretty decent, but it isn’t a match for anything bigger than 32 inches. An aftermarket slotted and drilled brake system is a must: it will give you more control both on and off the road. So, let us go ahead and check out some third-party pads, rotors, and calipers. We’ll discuss bleeding and breaking in a user-friendly, down-to-Earth guide.
Last, but not least, we’ll talk about maintenance. Even if you’ve got the Best Brake Pads for Jeep Wrangler TJ, or any other model, you’ll still need to take proper care of them.
Bleeding – My Step-by-Step Guide
If you’re just getting into the exciting world of customization, the term “bleeding” might not be familiar to you. On hydraulic brake systems, it’s recommended to purge the pipes and hoses that hold the brake fluid of air bubbles. This is what bleeding is all about. The more air is trapped inside the brake system, the less hydraulic pressure you’ll get from it.
Don’t mistake bleeding with flushing, though. Flushing is when you spill out the old fluid and replace it with an aftermarket product. Back to bleeding: every time you open the hydraulic system, bleeding is necessary. The only exception is when the driver lifts the main cylinder’s top to check on the fluid. A lot of drivers experience a so-called “spongy” performance when they install a new set of brake pads.
If that’s the case with you, I highly recommend bleeding the brakes, as that will probably fix everything. When the level of the brake fluid drops below a certain point, that makes room for air bubbles. As we already learned, bubbles have a very negative effect on the efficiency of your brake system. The good news is – bleeding isn’t rocket science, and it will greatly improve the brakes’ performance by sucking all the air out. Here’s how you do it:
-
First of all, the main (master) cylinder’s top needs to be removed.
-
Check the fluid thoroughly. If you feel like it isn’t 100% clear, you’ll have to get rid of it and add fresh fluid. Most of us don’t have pro-grade tools for getting rid of it, though. But, you can always go “full DIY mode” and use a baster to suck it out. Any type of eye dropper will do; just make sure it’s big enough.
-
No matter how careful and meticulous you were, there will still be some “leftovers” that need attention. Arm yourself with a clean rag and a decent-quality spray, and get to work.
-
Warning: be careful not to spill any of the old (or new) brake fluid on your Jeep’s body. When it comes in contact with paint, brake fluid is known to remove it.
-
Once that’s done, fill up the main cylinder with clean fluid. If you’ve got a buddy to help you out, ask him to pump that brake pedal a couple of times (+/- ten times will do).
-
Got a box-end wrench in the garage? Good, use it to loosen the caliper valve bolts. On most Jeeps, a ten-millimeter wrench should do. I recommend loosening the bolts starting with the right rear. In the States, that’s the furthest valve from the main cylinder. The Best Brake Calipers for Jeep are very “user-friendly” and it shouldn’t take you long to get this done.
-
For the next step, you’ll need plastic tubing and a bottle that you can throw away after this. Place the other end of the tubing in that bottle. Refill the main cylinder with clean fluid. This is important: it (the cylinder) needs to be full while you’re bleeding the brakes. Again, we’re doing this to keep air bubbles away.
-
Is that buddy of yours still around? Ask him to pump the brake pedal twice and hold his foot on it steadily.
-
Turn the bleeder bolts to the left (1/4 turn), starting with the back passenger wheel. If you do it right, the old fluid will come out, along with any air that’s been hiding there. Close the valves only when you’re not seeing any fluid.
-
Ask your buddy to repeat what he just did: pump twice and keep his foot on the brake pedal.
-
Release the bleeder. So, how many times should you do this? Repeat until you see the new fluid you just added coming out of the tube. Here’s how I do this: I add fresh brake fluid after I’m done with each wheel. Keep that reservoir nice and full; don’t allow the fluid level to get low and let air back into the main cylinder.
-
Once all four wheels are done, fill the cylinder one more time, and you’re done! The last wheel that you “handle” should be the side front wheel.
Breaking/Bedding – What’s it all about?

To do this, find a long enough road that’s low on traffic. Some folks prefer to do this at night, but I encourage you to do it when the sun is still up. By the way, if you’re in the market for the Best Brake Pads for Jeep Wrangler JK, check out my thorough review. I tested dozens of aftermarket parts before making a list of the top picks. Alright, here’s how you do breaking:
-
Reach 45mph and hit the brakes to reach a medium stop – do this three to four times. A medium stop is when you hit that brake pedal rapidly, but don’t make the Jeep stop completely. This helps the brakes to “warm-up” to the right temperature gradually, without any shocks.
-
For the next step, reach 60mph and make ten medium stops, dropping the speed to +/- 15mph. For this to work, you’ll need to press the brakes hard enough to get the desired results, but still, make sure the wheels don’t lock up. You also don’t want ABS to get activated. The second you see 15mph on the speedometer, accelerate quickly to get back up to 60mph.
If you’re driving an older Jeep model, you might have to repeat everything twice. As mentioned, this will probably also happens when you combine brand-new rotors with older pads, and vice versa. I’m not saying you shouldn’t get the Best Rotors for Jeep, of course, or any other brake components; but do keep this in mind. Pay extra attention to the “heating” stage: some drivers don’t do it right and the brakes don’t get heated enough.
Let the Jeep rest for 10 to 15 minutes between the cycles, don’t rush anything. Here’s a nifty trick: if you notice a blue-ish tint on the rotors, that means you did everything right and they’ve reached the required temperature. Another thing that I look for is the gray film sediment generated by the pads; this is also a sign that the break-in is going successfully.
The Parking Brake
Last, but not least, let’s talk a bit about the parking brake. If it’s malfunctioning (not holding, as the pros put it), think about the drum brakes: you might want to re-adjust them. We’re talking about the rear rotors – you’ll find so-called “adjuster ports” on the backing plates. Here’s what you should do:
-
First, take off the rubber plug.
-
Once that’s done, use a brake adjuster (it’s a simple metallic construction). Or, if you’ve got a screwdriver with a flat blade, that will do as well.
-
Now that the back wheel is suspended, get to adjusting. But how do you know when to stop? There’s a trick to it: start rotating the wheel (by hand). Once you feel the brakes are dragging, that’s your signal to stop.
-
Move to the other side and repeat. Do everything the exact same way you did the first time around.
Conclusion
Alright, that’s pretty much all I wanted to share with you, dear friends! As we’ve learned today, the braking system is quite complicated, but, if you’ve got the knowledge and the right set of tools, you can greatly improve it. Even if you’re rocking the best rotors, calipers, and pads, bleeding and breaking in are still very important. I tried to keep this guide as simple as possible without taking any important bits out.
If you follow my instructions carefully, you’ll be able to achieve impressive results and increase the brakes’ stopping power. No extra expenses will be needed: just some decent-quality brake fluid. You’ll have to ask a friend to lend a helping hand, though. Now, if you don’t feel like you’re 100% up to this, it would be better to let the pros handle it. As always, I’ll be happy to answer any questions you might have in the comments section!


Add Comment