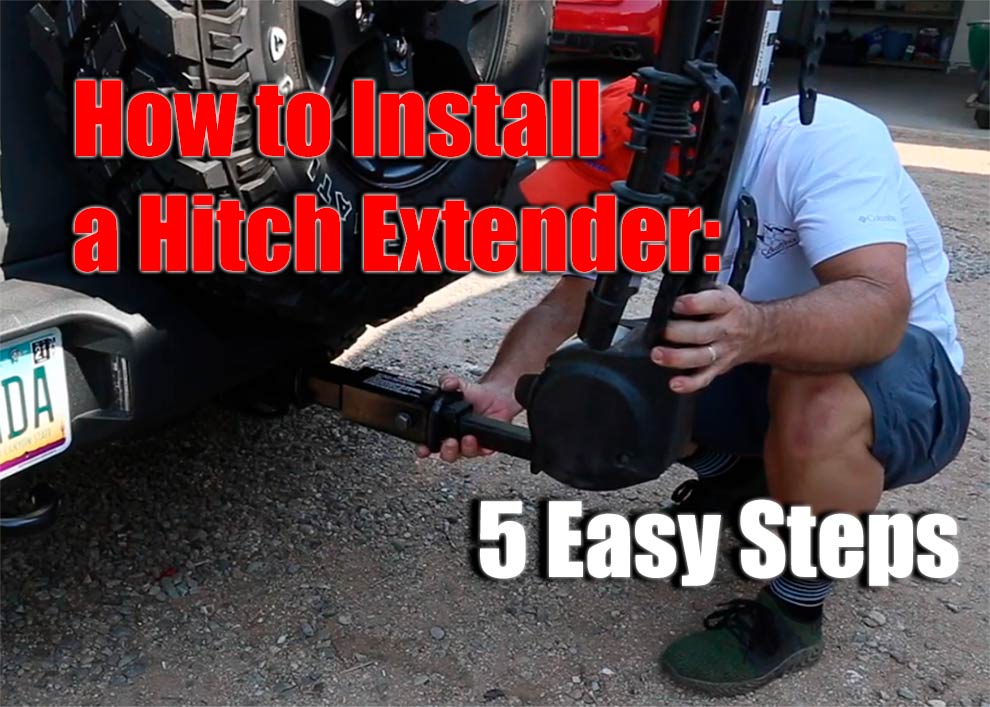
A hitch extender is a device that attaches to the hitch of your vehicle and extends it. This allows you to attach items such as bikes and kayaks, without having to remove the hitch from your car!
Installing hitch extenders is a relatively simple process, but it’s important to take your time and follow the instructions. This article will provide you with 8 easy steps to help you install hitch extenders on your vehicle!
Purchase a Hitch Extender
It is a common hitch extender misconception that hitch installation is difficult. In reality, hitch installation can be easy and quick with the right set of tools and knowledge on how to install hitch extenders! The first step in installing is to purchase a hitch extender.
Make sure you have the right tools for the job before starting, and any other necessary items based on which type of hitch receiver you will need to use (inside-the-frame or outside-the-frame). Find a level surface. Clean up any debris on the ground around where you will be working. Remove the spare tire from your vehicle and place it in a safe spot, such as in the trunk of your car.
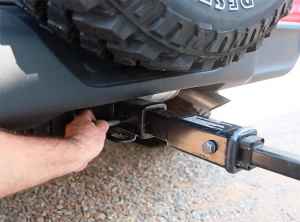 Remove the Old Hitch
First of all, you will need to remove the old hitch. This is a relatively simple process but it needs to be done in order for the hitch extender installation to work properly.
To do this, locate and unscrew or unclip whatever device attaches your hitch receiver (usually on top of where the spare tire goes) from the vehicle’s frame and pull it off.
Next, use a socket wrench with an extension attachment and loosen up any bolts attaching your hitch receiver to your car’s frame before removing them completely. Now that everything has been loosened up you should be able to start gently prying out each side of the hitch until they are free from its metal loops inside the frame of your car
Once you have removed the hitch and cleared any debris, it’s time to attach your hitch extender.
Determine if you need an inside-the-frame or outside-the-frame installation
You will need to determine which hitch receiver type you have on your vehicle before purchasing a hitch extender. Doors-built-in, steel tubes that are welded or bolted into where the spare tire is stored under the car and go through the frame of the
Inside-the-frame Hitch Installation
If you have an inside-frame hitch install, one more step must happen after removing the old hitch: remove any remaining metal loops from inside your cars’ trunk using pliers. Once this has been completed, it’s time to attach your hitch extender!
Outside-the-frame Hitch Installation
If you were installing an outside-frame hitch installation, no other steps need to be taken because there will not be any leftover loops in your vehicles’ trunk area when installing a new hitch extender.
Outside of frame is just what it sounds like – the receiver tube extends out to where the spare tire goes on top of the car and then into wherever else is needed for attaching items.
Checking Clearance Before Driving Off-road or in Snow
Before putting everything back together and taking it out on an adventure, check for clearance first (especially if you are installing an outside-frame hitch extension). If there isn’t enough space between your vehicle’s axles and suspension components then you might want to reconsider going off-road because they will get damaged very easily when something goes wrong. The same applies if there is too much clearance.
You’re Done!
Congratulations – now take your new hitch extender for a spin! Enjoy an extended towing capacity!
Add Comment