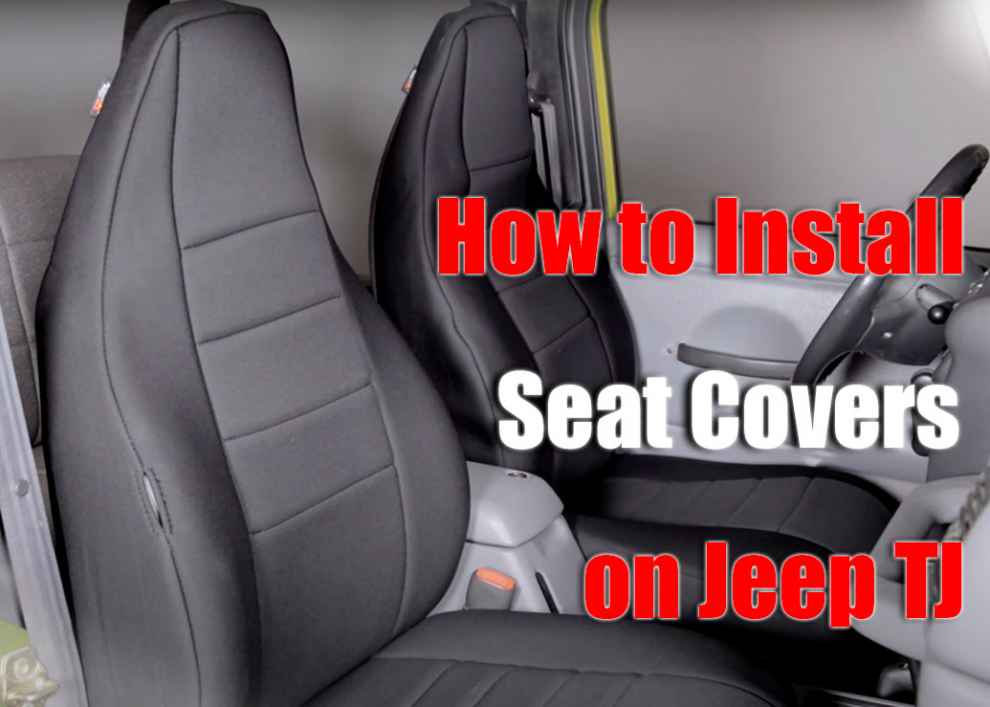
Face it: no matter how careful you are, you won’t be able to protect Jeep seats from spilled liquids, dirt, dust, pollen, cracks, or wear. Things happen; besides, car seats are incredibly vulnerable to humidity, dry weather, and UV rays as well. And let’s not forget how much a new set of seats costs. So, what can you do to protect them? Well, how about covers?
Specifically designed to serve as a shield against contaminants, weather elements, and little kids, they do an excellent job of keeping the seats nice and clean. And in this Jeep TJ Seat Covers Review, we’ll learn how to install them properly. All you’ll need is patience and sleight hands! Follow my guide, and let’s get to work!
Step #1: Getting Started
 There isn’t much preparation to be done, actually. You won’t need any tools or hardware (like bolts or nuts), except for a pair of safety goggles for the eyes. Now, if you do this at a slow pace, you’ll be done with both the front and the rear seats in 1-1.5 hours (two hours tops). Some experts recommend starting with the lower portions of the covers first; others claim you should start with the tops instead.
But wait – how does one differentiate between the lower and upper sections? All you have to do is find the slits for the seat belt lever and the straps. Found them? Great, then you’ve got your lower seat cover. Oh, and you won’t have to remove the seats, by the way – only the headrests. Taking the seats completely off won’t introduce any real benefits during the installation.
Step #2: Handling the Headrest
Ok, to preserve the upholstery of your factory Jeep seats, let’s go ahead and put on brand-new seat covers. First things first, carefully remove the headrests. There’s a button at the bottom: hold it down, and pull the headrest up. Or, just slowly drag it till it’s free. If you’re lucky with the package, it will include headrest-specific covers that don’t require cutting any holes for a proper fit.
These are much easier to install and take less effort as they come with pre-cut holes that fit perfectly around the stock headrest brackets. Some vehicles don’t have a headrest, to begin with, though; if that’s the case, just skip this part and let’s focus on the “meat and potatoes”.
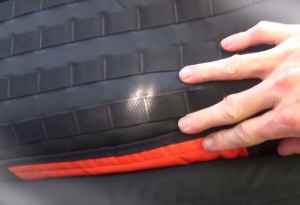
Step #3: Installing the Front-Seat Covers
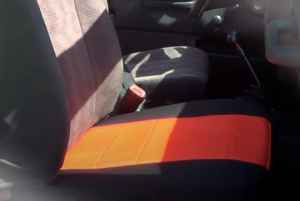
Most covers have a universal, direct-fit design. However, that doesn’t always mean it will be easy to slip them over the seats. Most likely, you’ll have to do some “fine-tuning” to make sure they are nice and tight. There’s nothing worse than a loose cover with wrinkles everywhere.
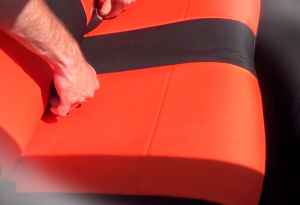
The Upper Cover
 I always start with the upper portion. Slide it over and see that the seams on the cover match the shape of the seat as much as possible. The upper cover will have a tail end that’s very easy to “tuck” in between the cushions (the one that you sit on and the one on the back of the seat). Once the cover is through the tiny gap, go around the back of the seat and secure it using the Velcro straps.
On the sides of the upper covers, you’ll see airbag pockets (the driver’s seat will have one on the left; the passenger’s seat will have one on the right). Not all covers have these, but keep in mind that without the cutaways, the side airbags won’t deploy in case of a crash.
The Lower Cover + the Headrest
 Put the lower cover piece next. Again, lay it over so that the rear end can be tucked between the factory cushions. From the back of the seat, pull the clips to ensure a tight grip. Once you’re done with that, it will be time for the nylon retaining straps. Do the same tucking thing and put them through the gap. Attach them to the clips. The best thing about straps – they are very easy to adjust to your liking.
Experiment with this for a while until you find the perfect setting for the covers that doesn’t leave any wrinkles. If you received headset covers, slip them over. Usually, they are held in place with similar Velcro strips. In contrast, the rear headrest covers are a bit different and use elastic straps for tightening.
Step #4: Moving on to the Rear Seats
 Alright, now let’s take care of the rear seats. There are very few differences between the front and rear seats, except for the headrests that I just mentioned. Go with the upper section first and then carefully ‘thread” the lower-portion covers. They’ll have the same nylon straps that go between the cushions and attach to the clips for a nice and strong fit.
Oh, and, of course, watch out for the seatbelts: make sure they’re not damaged while you’re installing the covers. A quick tip: if you’re having trouble putting the covers on the backs of the seats, it might help to roll the seats back a little bit. That way, it will be easier to get this done. However, for “feeding” the flaps into the gaps between the cushions, I would recommend bringing the seats back up.
Add Comment