
Installing a tachometer in your Jeep is a great way to add some extra convenience and functionality to your vehicle. Tachometers are devices that measure the speed of rotation of an engine’s crankshaft, allowing you to know how fast your engine is running at any given time. It can be very useful if you want to tune or modify your engine and keep an eye on it for maintenance purposes. Installing a tachometer can seem daunting, but it can be done quickly and easily with the right tools and know-how. In this article, we’ll take you through the steps necessary for installing a tachometer in your Jeep.
What Is a Tachometer?
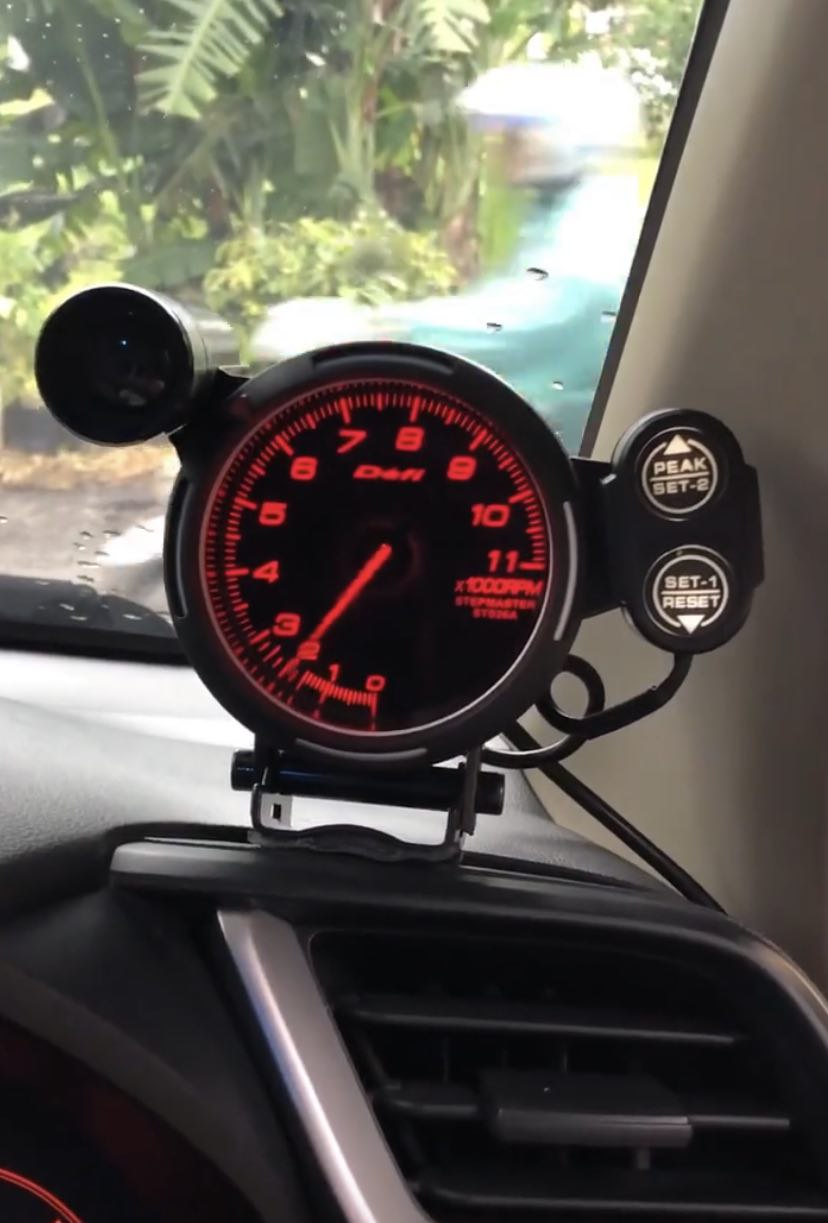 A tachometer is a device used to measure the engine rotation speed in revolutions per minute (RPM). It is a vital tool for drivers to monitor and adjust their engine’s performance, as excessively high RPMs can cause damage to the engine or transmission. Tachometers come in various forms, including mechanical, electrical, and digital. Mechanical tachometers use an analog needle to indicate RPMs, while digital models use displays like LCD or LED.
They are often found on the dashboard of automobiles and provide real-time information about engine performance, such as maximum speed achieved, peak torque output, acceleration rate, etc. Some vehicles also include a shift light, indicating when to shift gears according to preset RPM settings. Tachometers are essential for any driver looking to get the most out of their vehicle by monitoring and adjusting their driving parameters accordingly.
Parts Needed for Installation
When installing a tachometer in a car, several parts must be present. The main part you need is the tachometer itself. Make sure you choose one compatible with your vehicle’s make and model, as some tachometers require special wiring harnesses or mounting hardware. Additionally, you will need a wiring harness, mounting bracket, and any other necessary hardware to secure it in place properly. A speed sensor or transmission adapter might be necessary to link the tachometer to your engine, depending on the type of vehicle you have. It’s also a good idea to have a set of pliers on hand in case any wires need to be cut or bent into shape. If you’re unsure what type of tachometer is best for your Jeep or what additional parts may be required, consult a qualified mechanic or auto shop.
Step-by-step Installation Guide
Now that we’ve gone over installing a tachometer in your Jeep, let’s move on to the step-by-step guide. To ensure everything runs smoothly during installation, following each step carefully and taking all necessary safety precautions is important.
-
Removing the Old Tachometer: If an existing tachometer is already installed in your Jeep, it must be removed before installing the new one. Begin by using a wrench or screwdriver to remove any screws or bolts securing the tachometer into place. Make sure not to lose any parts, as they may be needed later during installation of the new unit. Once removed, disconnect all wiring from both ends of the tachometer and set aside for later use if needed.
-
Preparing the New Tachometer for Installation: Now that the old unit has been removed (if applicable), prepare for installation by laying out all components and connecting them together as per manufacturer instructions (or with help from an experienced technician). Make sure that all wires are connected securely and do not leave any gaps that could cause short circuits or other issues down the line. It is also essential to keep track of where each wire goes so that everything is reconnected correctly regarding reassembly.
-
Mounting and Wiring the New Tachometer: Once everything has been properly fitted together, secure your newly acquired device using dashboard mounting screws provided with each kit as needed. When connecting all relevant cables, the negative should always go on black wires while the positive should always go on red ones – this applies regardless of whether powering from the battery directly via fusebox connection, etc. Once everything is connected correctly, use electrical tape to wrap up exposed ends neatly so no short circuits occur during normal operation later down the line!
-
Testing and Finalizing Your Installation: Now it’s time to test your newly installed tachometer before finalizing it. Start by turning on all necessary components such as headlights, radio, etc., and then switch the ignition on while also pressing down the accelerator pedal gently until the engine is running at around 1500-2000rpm – this should yield a positive indication in the form of a needle pointing towards correct RPM value on tachometer’s display! If you have any issues with readings during the testing stage, repeat the steps outlined above again – ensure each cable is connected securely and that all relevant fuses are not blown!
Conclusion
Installing a tachometer in your Jeep is a great way to monitor engine performance and ensure it runs optimally. Although the process can seem daunting at first, by following the step-by-step guide outlined in this article, you should be able to get it done right the first time. Be sure to consult an experienced mechanic or auto shop if you run into any issues during installation, as incorrect connections may result in short circuits or other damage that could cost significantly more money. With the right tools and know-how, you, too, can easily install a tachometer in your Jeep!
Add Comment