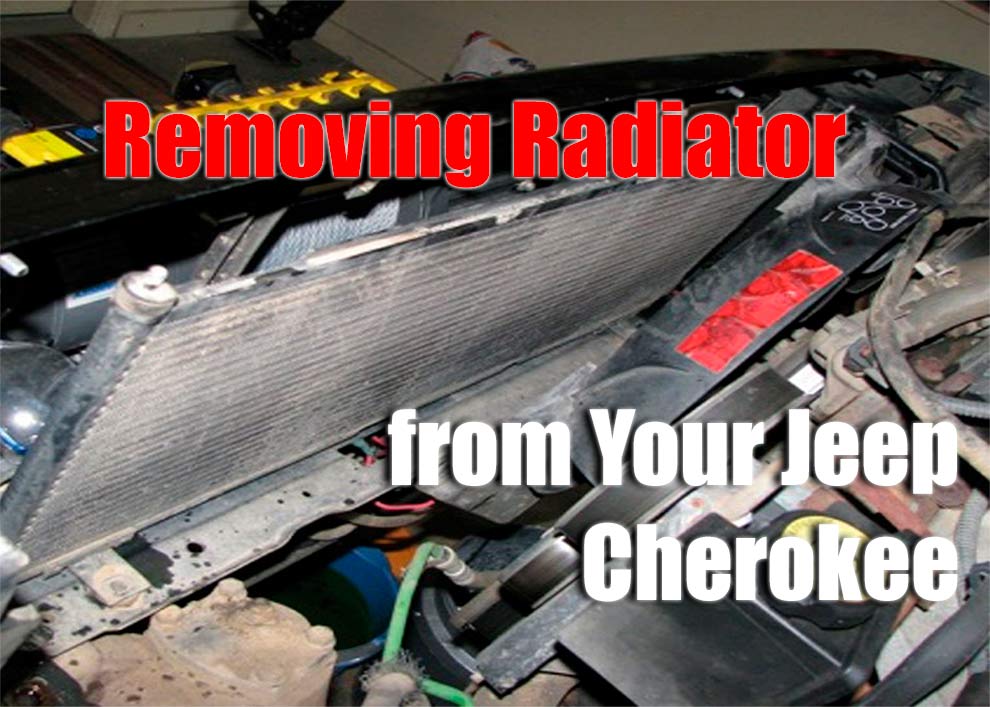
If you have ever had to replace your radiator, then you know how difficult and time-consuming the process can be. In this post, we will show you step-by-step instructions on how to remove a radiator from a Jeep Cherokee so that you can save yourself some trouble in the future!
Step One – Disconnect your battery. It is important to disconnect the vehicle’s electrical system before beginning any work on its engine or related components because there are a number of electronic devices in close proximity that could become damaged and cause an even greater issue than what you were trying to fix!
Step Two – Remove access panels from under the car. You will need to remove the access panels from under the car in order to disconnect and 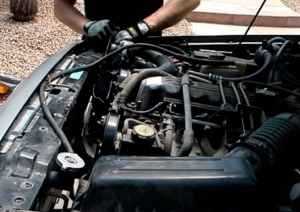 detach things that may be holding your radiator up!
Step Three – Disconnect and attach electrical cables. Make sure you are wearing sturdy gloves before touching any wires or connectors because engine components contain electricity, which could easily conduct through metal surfaces such as a hand. You will need to disconnect the electrical connector that runs from your radiator fan to the engine block so you can remove the hoses and then detach any other connections, which may be holding up your radiator!
Even though the AC capacitor does not need to be removed, it is often screwed onto the heatsink, so these bolts must be removed before you can remove the heatsink.
In any case, it is extremely important to be careful when handling the air conditioner condenser, as damage to it can reduce the efficiency of the AC power or cause a leak in the system, costing you money or causing you discomfort.
Step Four – Pull out the old fluid reservoir tank. Once everything is disconnected, it should be easy enough for you to pull out your old fluid reservoir 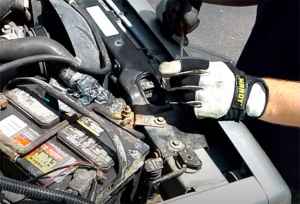 tank and set it out of the way!
Step Five – Remove bolts. There are a number of bolts on your radiator that will need to be removed in order for you to detach it from the frame or mount points, which may have connected it securely with another component such as an engine block or chassis cross-member! Make sure you are wearing gloves and use a wrench to loosen the bolts before you remove them.
Step Six – Pull the radiator out from under the vehicle. Once all of the necessary bolts have been removed, it will be easy enough for you to pull your old radiator out from underneath the car! Be careful not to drop or bang anything onto any other components since it could cause damage.
Step Seven – Install a new radiator. The final step is to install the new radiator and reconnect all of your electrical connections that were removed in Step Three! Make sure you attach any hoses or other things that need to be attached before driving away on a test drive! If everything looks good, then congratulations – you have successfully removed your radiator!
Start the engine and let it run for a few minutes to check for any leaks. Then top off the engine coolant mixture and you’re good to go!
Add Comment