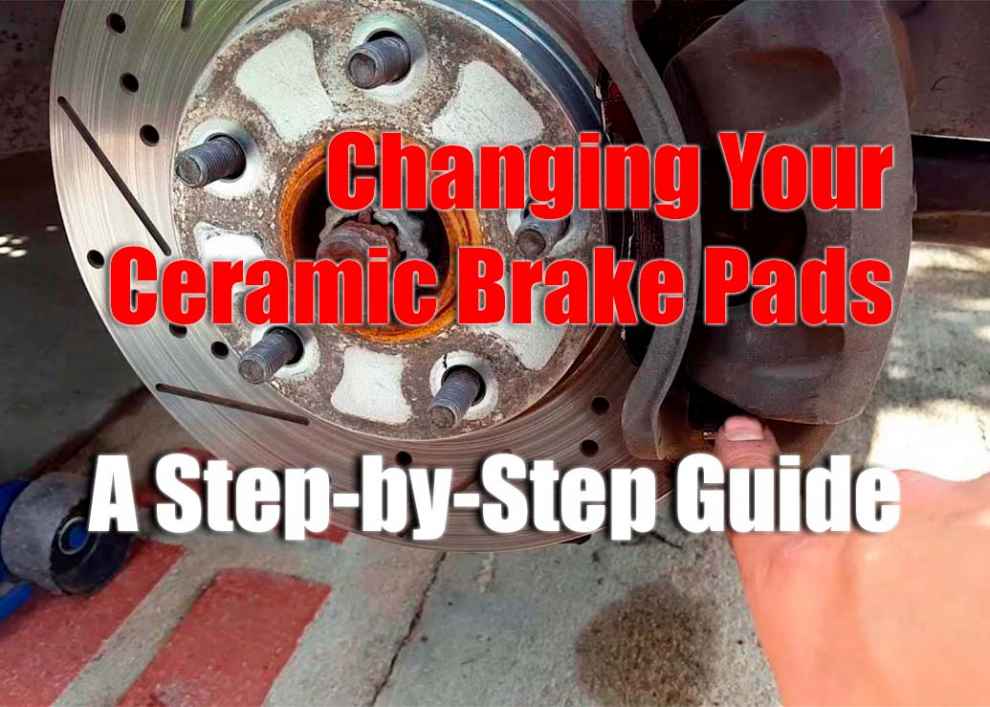
Your brakes are one of the most important parts of your vehicle. Without them, you won’t be able to stop or slow down your vehicle when needed. That’s why it’s important to keep your brakes in good working order. One way to do this is by changing out worn brake pads for new ones on a regular basis. In this article, we will be discussing the process for changing ceramic brake pads on a car or truck.
What You Need To Change Ceramic Brake Pads
In order to change ceramic brake pads on a car or truck, you will need a few basic tools and supplies. These include:
- Lifting device (jack and jack stands)
- Lug wrench
- Socket set
- C-clamp
- Brake grease/pad lubricant
- Replacement pads
Step 1: Lift Your Vehicle Safely and Securely
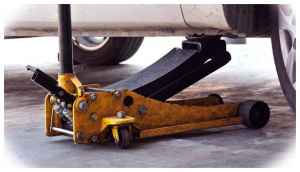 The first step in the process is to lift your vehicle safely and securely using either a jack and jack stands, or ramps if available. Make sure that your vehicle is stable before you start working on it as it could become unstable during the repair process if not properly supported.
Step 2: Remove the Wheels
Once your vehicle is safely and securely lifted, you can then remove the wheels to gain access to the brake system. Start by removing the nuts or bolts that secure the wheel to your car or truck using a lug wrench. Once all of the nuts/bolts have been removed, carefully remove the wheel from your vehicle and set it aside.
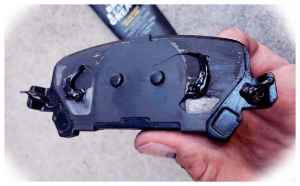
Step 3: Remove Old Pads and Inspect Rotors
Now it’s time to remove the old pads and inspect your rotors. Start by removing any pins or clips securing each pad in place, then carefully pull each pad away from its mounting bracket. Once both pads are removed, inspect them for wear as well as any damage that may have occurred during their use such as grooves worn into them or discoloration due to too much heat buildup. Also inspect both rotors for signs of excessive wear such as grooves in their surface or deep scores cut into them caused by incorrect bedding-in of new pads after installation.
Step 4: Clean Brake System Components
Once you’ve inspected both rotors and pads for signs of damage, it’s time to clean all brake system components. Start by wiping down the area where the pads will be installed to remove any dirt or debris that may have built up over time. Next, apply a thin layer of brake grease or pad lubricant to each pad as well as the rotors before mounting them in place.
Step 5: Install New Pads and Rotors
 Now you can begin installing your new ceramic brake pads and rotors. Start by positioning the new brakes onto their respective mounting brackets, then secure them in place using pins or clips if necessary. Once both new pads are secured, carefully position each rotor into place on its wheel hub and use a C-clamp to press it firmly against the pad surfaces for proper bedding-in. Also choose here Best Brake Pads for your Jeep Grand Cherokee.
Step 6: Re-install Wheels and Torque Lug Nuts
Once your brakes have been installed, it’s time to re-install your wheels onto the vehicle. Start by positioning each wheel onto its respective wheel hub, then secure it in place using either lug nuts or bolts (depending on your vehicle). After all of the nuts/bolts have been tightened down, use a torque wrench to ensure they are all tightened down correctly per your vehicle’s manufacturer’s specifications.
Conclusion
Changing your ceramic brake pads is a relatively straightforward process that can be done with just a few basic tools. By following the steps outlined in this article, you should be able to quickly and easily change out your worn brake pads for new ones, ensuring that your car or truck can stop safely and effectively each time you need it to.
Add Comment