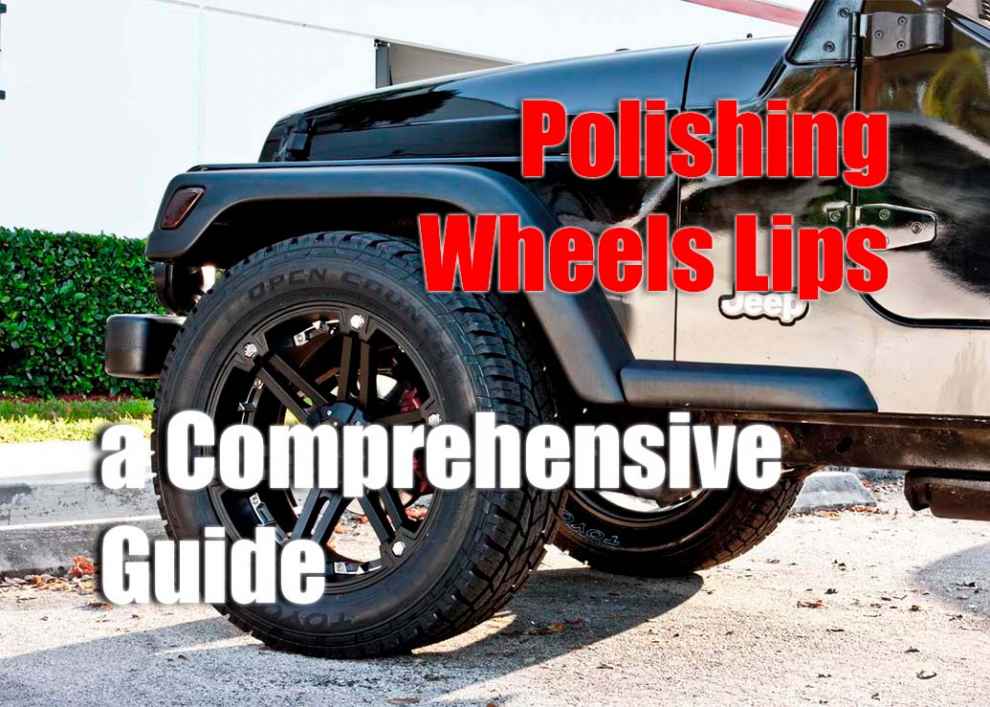
Welcome to our definitive guide, where we delve into the transformative art of wheel lip care and maintenance. Wheel lips, the often overlooked yet vital component of your vehicle’s aesthetic, hold the potential to elevate the entire look of your car. In this guide, we’ll take you through the nuances of achieving that perfect, mirror-like finish on your wheel lips, an aspect that can make your vehicle stand out. Whether you’re a seasoned car enthusiast or a beginner looking to add some extra shine to your ride, our step-by-step approach, coupled with expert tips and tricks, will equip you with everything you need to know. From selecting the right tools and materials to mastering the polishing technique, we’ll guide you on how to transform your wheels from dull and overlooked to brilliantly eye-catching. Let’s embark on this journey to achieving wheels that don’t just spin but truly sparkle.
What You Need to Know Before Polishing Wheel Lips
Before getting started with polishing your wheel lips, you need to be informed of a few things. First off, check your wheels for any signs of scratches or scuffs that might require more careful attention before the polishing process. If you have minor scratches and scuffs, it’s best to apply some fine-grit sandpaper (such as 2000 grit) over those areas before starting with the polishing process. This will help remove any dirt or debris that may be lodged in those areas and enable a smooth application of polish later on. Additionally, make sure that the wheels are cool before applying any polish or waxes – this helps ensure even coverage and prevents damaging the metal surface when working at high temperatures.
Steps for Polishing Wheel Lips
 Now that you are familiar with the basics, it’s time to get started with polishing your wheel lips. Here are the steps you should follow to achieve a perfect finish.
- Start by cleaning the wheels and wheel lips with a mild detergent or cleanser and a soft brush or cloth. Make sure to get rid of all dirt, grease, and debris from the surface before beginning.
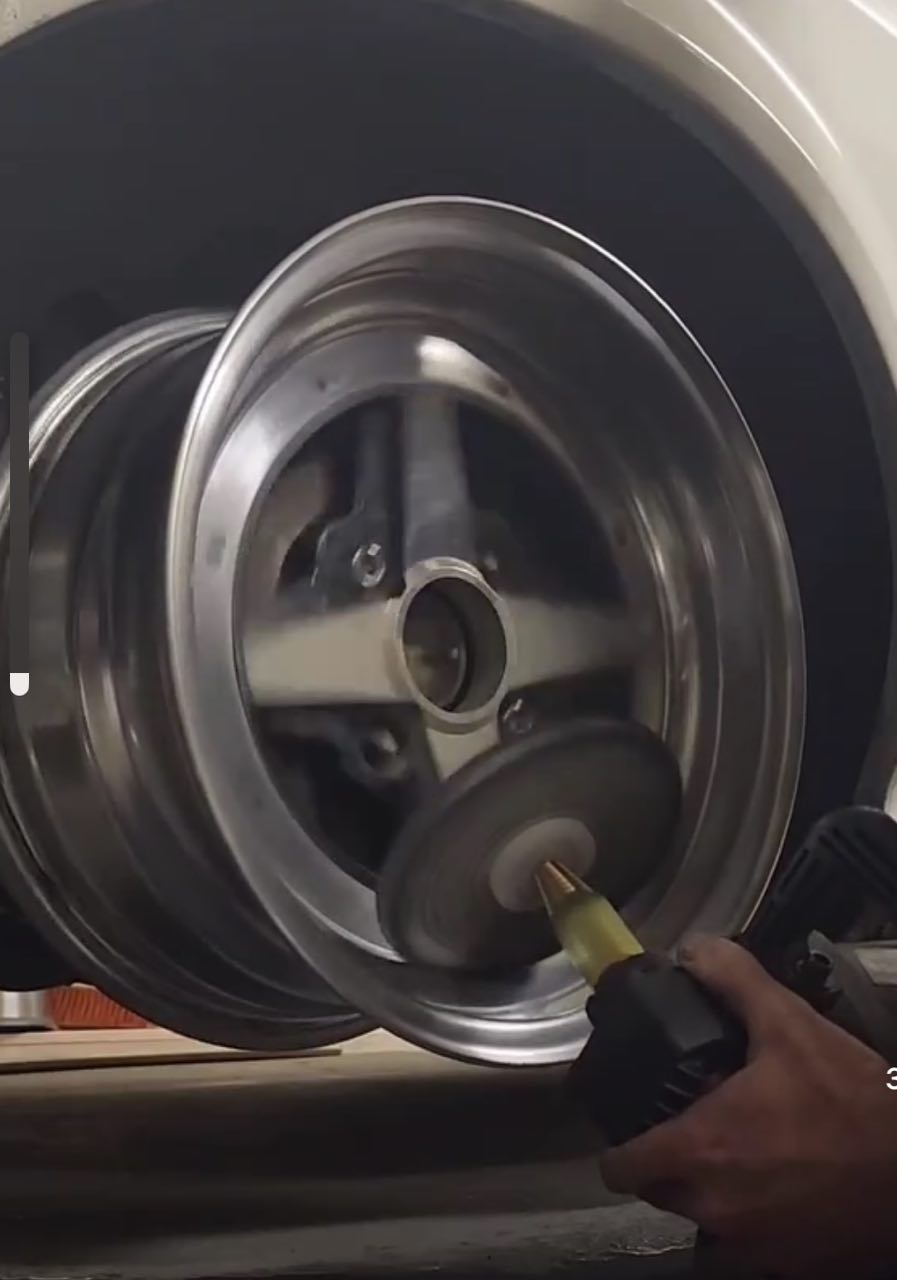
- Once the wheels are cleaned, grab your polisher, and apply a thin layer of polish over the area in small circular motions for an even coverage (make sure not to over-polish). Keep in mind that while polishing, it’s important to keep consistent pressure on the wheel lip area for maximum effectiveness – don’t be too aggressive or light-handed as this can lead to uneven application or damage gold plating over time.
- Once finished with one section, move on to another section of the wheel lip area, and repeat step two until you have covered all areas of the wheel lip evenly with polish/waxes.
- Now that you’ve applied polish/waxes evenly across all areas of your wheel lips it’s time to buff off any leftover excess material from each individual spoke on your wheels using clean microfiber towels or pads – make sure not to press too hard on individual spokes as this can cause scratches on delicate surfaces such as gold plating over time!
- Next up is optional but recommended: applying a sealant coat after polishing/waxing which will help protect your newly polished/waxed surfaces from dirt and other environmental elements like UV rays – this step will also help ensure that your wheels stay shiny longer than without it!
- Finally, use a clean microfiber towel one more time around each individual spoke on your wheels to wipe away any sealant residue left behind during application; this will leave behind only an ultra-glossy finish ready for showroom quality presentation!
The Best Products to Use for Polishing Wheel Lips
Now that you are familiar with the steps of polishing wheel lips, let’s have a look at the best products to use for a satisfactory finish. The most important thing to consider when selecting polish and wax is that it should be specifically designed for use on wheel lips. Regular car polish, although suitable in certain circumstances, will not provide a long-lasting glossy finish – this is why it’s important to get specialized wheel lip wax/polish formulated with carnauba wax and other compounds specifically designed to protect against UV rays, dirt, dust etc. Additionally, make sure that you always use microfiber towels or pads when applying any products as this help prevent scratches from forming during the buffing process. Furthermore, if you’re working with alloy wheels, it’s crucial to select products that are safe and effective for this material. Alloy wheels have unique requirements due to their material composition, so ensuring the products are compatible will maintain their appearance and longevity.
Finishing Up and Maintaining Your Wheels
Once you have achieved a perfect mirror-like finish on your wheels, it’s time to maintain them so they stay shiny over time. Regular cleaning using mild cleansers or soap can help keep your wheels looking good as new for longer periods; additionally applying some sealant every 3-4 months will help ensure maximum protection against environmental elements such as UV rays and dirt buildup. Additionally, if you want to take extra precautions then consider investing in some wheel covers – these come in many different styles and sizes specifically designed for a perfect fit over your wheels and can offer additional protection from road debris while driving or parked in your driveway!
Conclusion
By following the steps outlined in this guide, you should now be equipped with all the necessary information to get the perfect finish on your wheel lips. Whether you’re just starting or have a few years of experience under your belt, this guide should provide everything needed to achieve that distinctively appealing shine on your wheels. Always remember to select products designed specifically for wheel lips and use microfiber towels and pads during buffing – as these are essential for avoiding scratches and achieving an even application. Finally, make sure to regularly maintain your wheels with cleansers and sealants so they remain vibrant for longer periods of time!
Add Comment