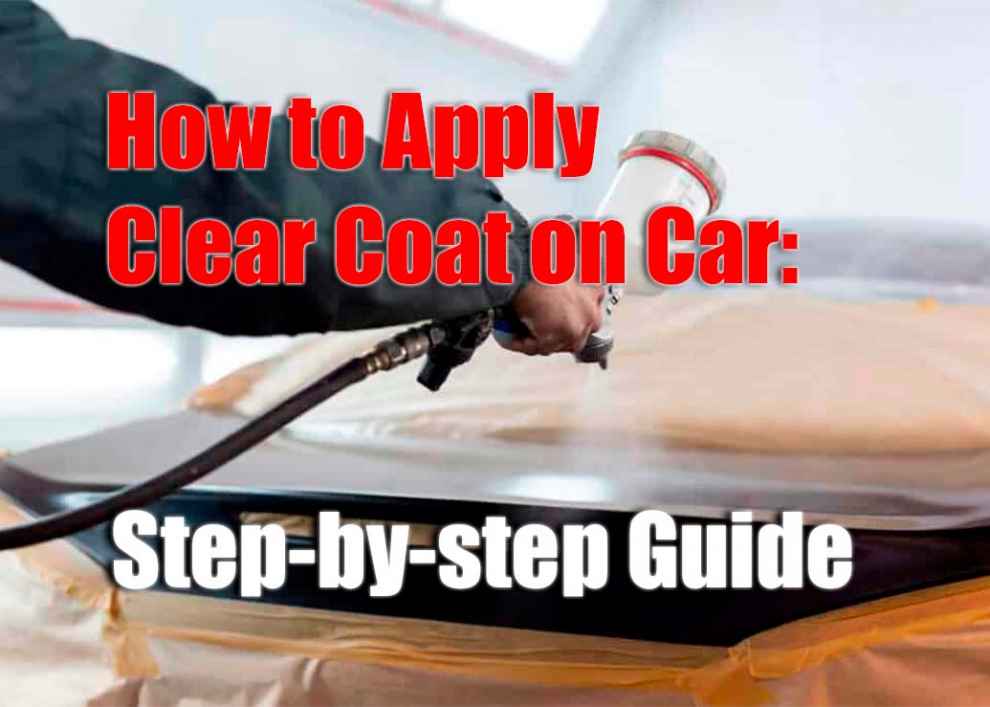
When it comes to protecting and preserving the exterior of your Jeep, applying a clear coat finish is one of your best options. Clear coats provide extra protection for your vehicle’s paint job and help maintain its aesthetic appeal. But how to apply clear coat on car? In this article, we’ll provide you with a step-by-step guide on how to apply a clear coat on your Jeep so that you can keep it looking great for years to come. We’ll cover everything from proper preparation techniques to what supplies are needed to ensure the project goes smoothly. With this guide, even those new to auto body repairs and maintenance can easily protect their Jeep!
What Is Clear Coat?
 A clear coat is a transparent paint finish applied over a base coat-colored paint. It is typically used as a top layer to automotive finishes, protecting from the elements such as ultraviolet light, oxidation, and other environmental factors. Clear coat also makes the car’s paint finish color and shine better. It helps protect against scratches, provides better gloss retention, and makes cleaning and waxing much easier. After priming, basecoat coloring, and buffing the vehicle’s surface, a clear coat application is usually done. Clear coats can be either single-stage or multi-stage; multi-stage clear coats provide additional depth of color that single-stage ones cannot. The different layers of clear coat allow for color and gloss level customization, ranging from semi-glossy to high gloss. The application will involve multiple coats of clear coat with a spray gun or roller in very thin layers while maintaining even coverage across painted surfaces. When properly applied, it forms an invisible barrier between the car’s paint job and its environment, which can help keep its luster for many years.
What You Need
Before you start with the clear coat application, ensure you have the right materials and supplies. The following are the materials and tools that you’ll need:
- Clear coat (single-stage or multi-stage)
- Primer
- Base coat color (if needed)
- Sandpaper or a grinder for surface preparation
- Masking tape to protect areas not being painted
- Drop cloths or other protective coverings
- Spray gun with an adjustable pressure gauge
- Paint thinner and solvent for cleaning your spray gun
- Safety goggles and gloves
Preparing the Car Surface
Once you have all the necessary materials and supplies, it’s time to get the surface ready for clear coat. First, remove dirt or debris by washing your car with soap and water. Then, use sandpaper or a grinder to remove rust, paint chips, or other imperfections from the car’s surface. After this step is complete, use a primer to seal off areas that may be exposed after painting. Make sure you apply several thin layers of primer until the surface is completely covered and even. If painting over an existing base coat layer, ensure it is fully cured before applying primer and clear coat; if not, the paint won’t properly adhere to the car’s surface. Also read about Best Paint for Jeep Hardtop.
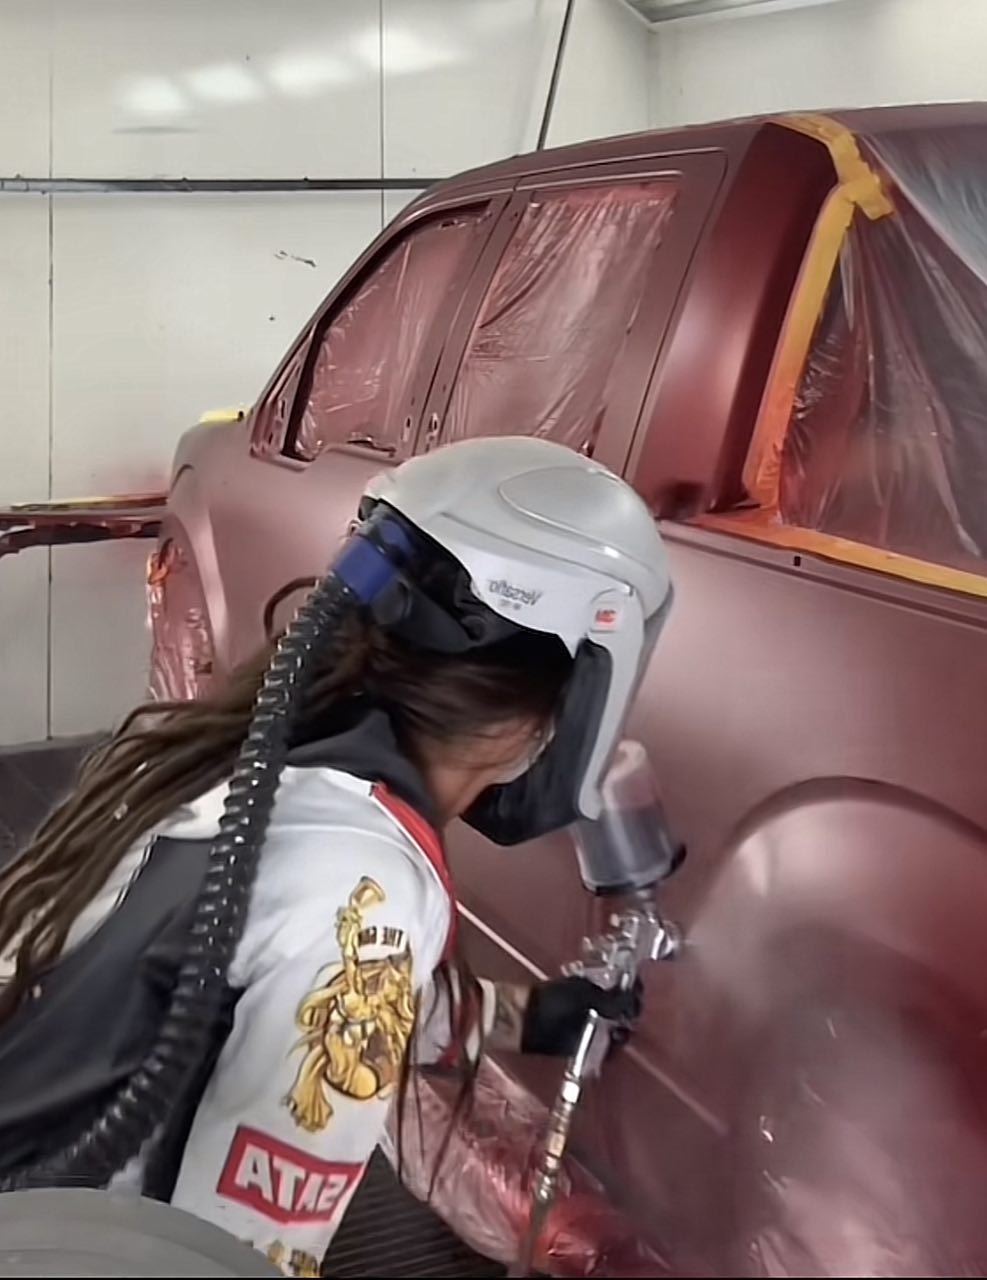
Applying Clear Coat
After preparing and ensuring the surface is ready, the next step involves the application of a clear coat. Start by covering any sections you wish to avoid painting, such as door handles, interior trim, and wheel wells. Make sure to use high-quality masking tape to ensure proper coverage. Next, you’ll want to set your spray gun on a flat surface and adjust the air pressure gauge to the recommended level. Start by applying light coats of the clear coat in even strokes across the car’s surface. Keep your distance from the vehicle and use a sweeping motion when spraying. Do multiple thin layers rather than one thick layer; this will help prevent drips or runs in your paint job. Once you have applied several thin layers, allow it to dry for at least an hour before applying further coats of clear coat.
Curing Clear Coat
After you have applied the desired amount of coats, it’s time to cure your clear coat. Curing plays a crucial role since it aids in sealing the clear coat, protecting it against environmental factors. To cure your clear coat, allow it to sit for at least 24 hours (preferably in a garage or other enclosed area). The curing time may vary based on environmental conditions and temperature. If possible, try to prevent the car from being exposed to direct sunlight throughout this time. After the recommended curing time has passed, inspect your clear coat for any imperfections or flaws that may have occurred during application. You can then use a polishing compound or a car wax to buff any minor scratches or other defects.
Final Thoughts
Applying a clear coat to your car is a great way to protect it from environmental factors and keep it looking new for years. Following the steps outlined in this article, you can easily get the job done and have a professional-looking finish. Remember to use high-quality materials and take your time during each step; this will help ensure you get the best results. Don’t forget to cure your clear coat for at least 24 hours so the paint adheres properly; this will help protect it from damage caused by UV rays, dirt, and other elements. With some patience and preparation, you can apply a perfect clear coat on your car!
Add Comment