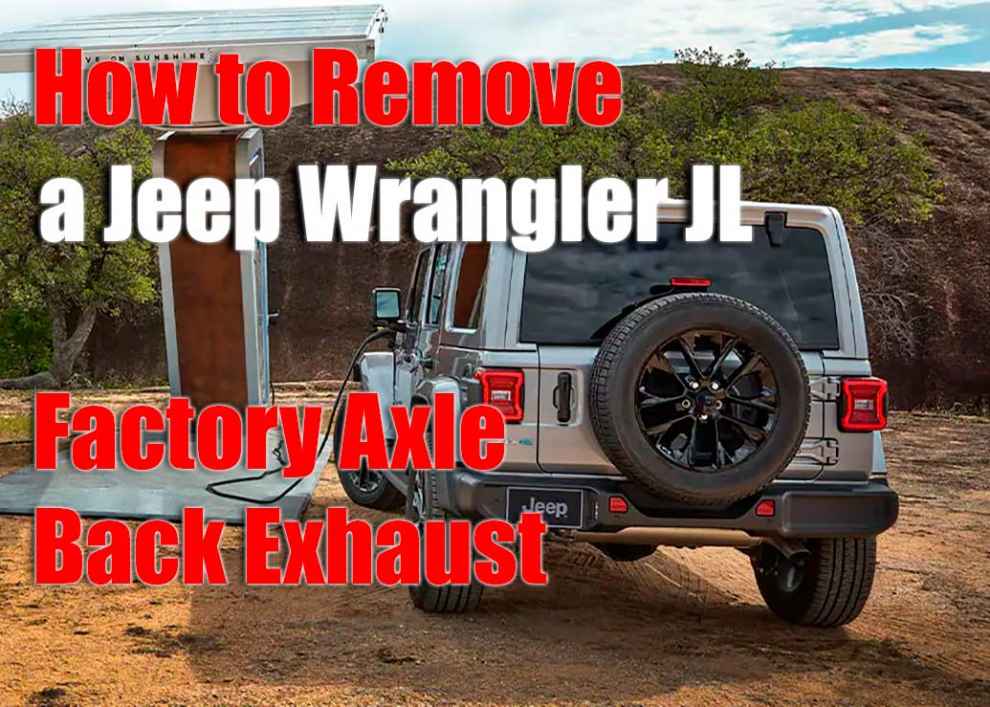
Hey drivers! Today we are taking the axle exhaust out of your 2010 or newer Jeep Wrangler Jael. I’m going to walk you through the steps required to remove the factory axle back Exhaust System for Jeep Wrangler or newer Jeep Wrangler jl that is equipped with the 3.6-liter Pentastar V-6 engine four door Wrangler. They are very simple indeed, it probably takes less than half an hour which you can do at home in your driveway with just a few simple hand tools and you need to do the job to get your vehicle ready for installation of a new axle muffler. Alright, let’s jump in!
Instruments
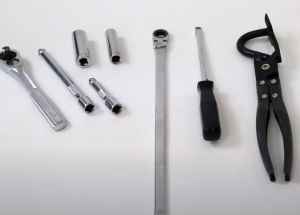 To complete this work, you need a couple of tools, a 15-millimeter socket along with an extension and either one socket wrench or impact wrench. you will need a 13mm socket back along with an extension and socket wrench. If you have a 13mm ratchet wrench that will come in handy too, and then you will need either a crowbar or exhaust hanger pliers to getting the old exhaust hangers removed and then a bottle of spray lubricant will also aid in removing and reinserting those exhaust hangers.
How to Remove a Jeep Wrangler JL Factory Axle Back Exhaust
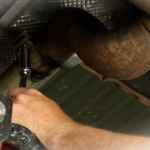 1. So, the first step is to grab your 15-millimeter socket. Just use the blow gun and you have to loosen the exhaust clamp, which is located directly above your rear axle, now that this exhaust clamp has loosened.
 2. The next step is to remove the four screws on each side that hold your exhaust brackets to the frame rails. Once you remove these, you can remove the entire assembly from the vehicle and then you can separate the exhaust hangers from the old factory exhaust system. Now holding these 2 13 mm screws per side the bracket on the frame, one will run laterally into the frame and the other from front to back on the vehicle and this is where the extension with your 13-millimeter socket wrench and your 13-millimeter ratchet wrench is used.
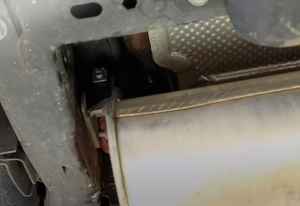
3. Now as all four screws are removed from those exhaust hangers the muffler will really hold in there, both of the mounts are a kind of compression fit and depending on how old your Wrangler is, separating the two sections of the exhaust piping can be a little really difficult, and all you have to do is wiggle the entire assembly around until you find the two brackets fail. And then you may have to just twist the exhaust back and forth to separate these two pipe pieces.
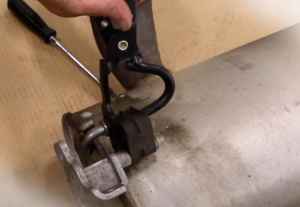 4. Now you can remove your exhaust hangers from your OEM, these can be transferred to your new exhaust, when you install that one of the really nice things about working on the jl is the fact, so that you can remove the entire exhaust bracket with the exhaust instead of wrestling with it while it is stowed under the jeep. To remove these rubber mounts you either have to grab a large screwdriver or a crowbar and you just have to pin this in there and detach the hanger from the post, or I highly recommend that you grab an exhaust hanger tool.
The Job Is Done!
You can now find these on the internet for less than $ 20. Another great tip here is to get yourself some lubricant snap and just quickly spray the post there. Make sure you get it behind the little flange there on the post, and then by just pushing the tool you can see how easy it is to attach the exhaust hanger to this one body to open and grab the other. Then put this aside until you’re ready to install your new 2010 or newer Jeep Wrangler jl2 or Ford or just remember these steps. Make sure you check out this website and all new Jeep related articles. And have a nice day!
Add Comment