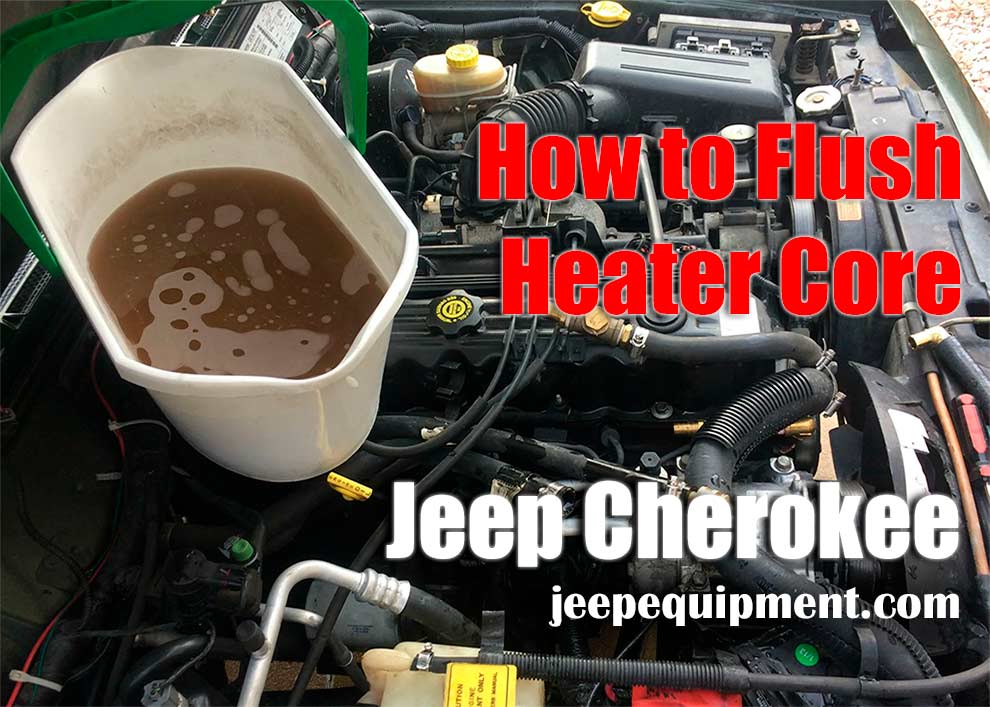
In this guide, we explore a practical and cost-effective solution to a common problem faced by Jeep Cherokee owners: a failing heater core. Symptoms like overheating engines, coolant smells in the cabin, fogging windows, and fluid leaks signal a need for attention. We provide a detailed, step-by-step approach to flushing the heater core, a process that can restore its functionality without the expense of replacement. This tutorial is designed for those looking to DIY with basic tools, helping to keep their rugged Cherokee in top condition.
If your engine is running hot and you smell coolant in the cabin, that means your heater core is failing. Common signs also include lack of proper heating, fogging windows, and leaking fluids. Now, when it comes to Jeeps, this mostly happens to the Cherokee – a rough-tough SUV. So, what can you do to fix this? Buy a brand-new heater core?
You could, of course, do that, but these aren’t very cheap ($60-80 on average; $100+ if you want premium quality). Why not try and flush it? In most cases, you’ll be able to “heal” the heater core by dumping the coolant. In this step-by-step how to flush the heater core Jeep Cherokee guide, we’ll master how to get this done in an hour with a set of regular tools, just in case, check other engine problems. Let’s get to it!
Step #1: Getting Started
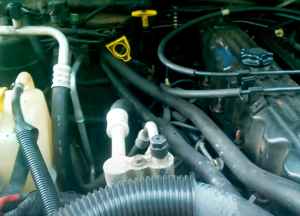
To get access to the right hoses, you need to pop the hood of the Cherokee. You’ll see a pair of hoses running right above the firewall – can’t miss them. These are your inlet and outlet hoses for the coolant. When they’re clogged (which happens over time), they lose their efficiency and fail at delivering the right amount of heat. Now, some experts recommend unplugging the battery to avoid any unforeseen consequences.
However, that won’t be absolutely necessary, as we’re not working with any electric components. But, to get peace of mind, go ahead and disconnect the negative terminal – this should only take a minute. While you’re still getting prepared, make sure to put a pair of gloves on. If you end up getting coolant on your hands, that can be quite traumatic as well. A couple of clean rags could also come in handy. Here’s a full list of the stuff you’ll need:
- A large bucket to catch the bad coolant
- A pair of gloves and glasses
- A set of cheap rags
- Pliers, a screwdriver, or vise grips
- A regular water hose for flushing
 (Optional) an air compressor
Step #2: Unclamping the Hoses
Each hose is held by a clamp, which, in turn, is secured by a clip. To remove the clip, just squeeze it from both sides – vise grips are the best tool for this. A screwdriver can also work, along with pliers. Sometimes, the hose can be “glued” to the metallic parts of the system. If that’s the case, wiggling it a bit should free it up. When not treated/maintained for a long time, the clamps will be covered in rust.
And, depending on how much rust is there, applying lots of force could ruin the hardware and the actual hoses. So, the best solution would be to use a rust remover. It will deal with the corrosion easily and will only cost you $15-20 bucks. Once both heater core hoses are successfully loosened, the coolant will come running down.
Step #3: Hooking up an Air Compressor
To avoid coolant spillage, put a large enough bucket right underneath the hoses. Do this before you remove the clamps completely! Remember: this fluid is highly toxic not only to the human body but animals and even the earth as well. Make sure to dispose of it later. If you’ve got an air compressor, it will do a great job of removing/loosening the clogs inside of the hoses.
The air compressor should be connected to the outlet hose – this is important. Also, seal it (regular tape will do). On average, 10-15 minutes is enough to create the right amount of pressure. Don’t overdo this, though, because too much pressure can damage the system. I go for 20-30 PSI to be safe. Only remove the compressor from the “chain” once you’re sure all the coolant/gunk is out of the way.
Step #4: Flushing the Coolant
And now for the main event: with the compressor unhooked, attach a water hose instead. Turn it on to start the flushing process. The air compressor is like a nice “bonus” that will help the hose do a better job of cleaning the heater core. If you don’t have one, the water hose will still work. So, when should you stop? When the water coming from the hose is clean, of course.
Step #5: Finishing Up
Give the hoses and the heater core some time to dry. If some water or coolant was spilled, use rags to get rid of it quickly. After that, reconnect the hoses and seal them tightly. All that’s left to do now is refill the coolant and hit the road! Go with a 50/50 mix (distilled water and antifreeze). Finally, get into your Jeep’s cabin and turn the heater core on. It should work properly now that you got rid of all the junk/clog and the system is “breathing” easily.
I would strongly recommend running the engine for a while and letting the coolant rush through the system before cranking up the core. That’s pretty much it! If you want to maintain your Jeep and avoid costly service repairs, make sure to keep an eye on the heater core and the entire cooling/heating system. Perform regular checks. That way, it will be much easier to spot any potential issues, which, in turn, will cost a lot less time, energy, and money to fix.
Conclusion
Recognizing the signs of a bad heater core is crucial for maintaining the health and efficiency of your Jeep Cherokee’s heating system. Symptoms such as overheating, coolant odor, and fogged windows should prompt immediate action. Regular checks and maintenance, like flushing the heater core as outlined in this guide, can prevent serious damage and costly repairs. Always be vigilant and proactive in monitoring your vehicle’s performance to ensure a smooth and safe driving experience. For more in-depth information on identifying and addressing heater core issues, also read our detailed articles on “Signs of a Bad Heater Core” and related maintenance tips.
Add Comment